Setup and configuration
The following three steps are required in order to setup and configure ConnectionOpen:
- Install client application
- Open client and login
- Configure audio settings
Let's go through all of them in detail.
Install client application
To download the ConnectionOpen client application (including VST/AU/AAX plugin versions) click on the download tab from ConnectionOpen website or from your account dashboard.
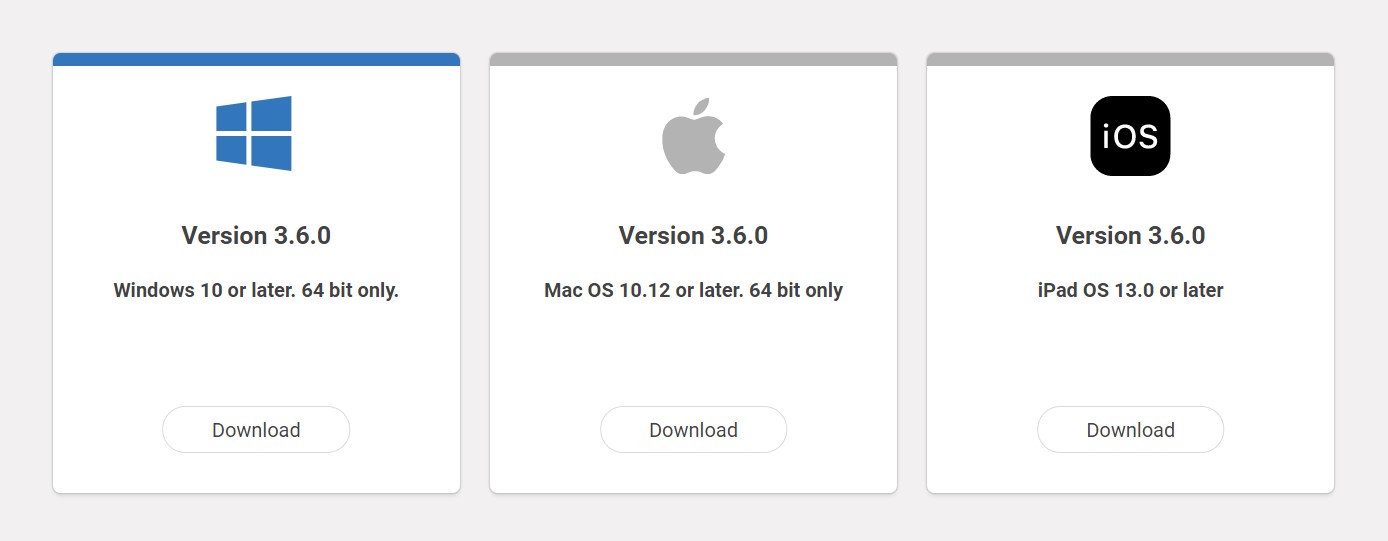
After downloading the applicable version for your operating system, open the downloaded file to install the ConnectionOpen client and VST/AU/AAX plugins.
On Windows, the installer will prompt you to select a location to install ConnectionOpen to. VST plugin will be installed under C:\Program Files\Vst Plugins; AAX plugin will be installed under C:\Program Files\Common Files\Avid\Audio\Plug-Ins;
On Mac, everything will be installed to the system default locations. Standalone will be placed onto Applications folder and VST/AU/AAX plugins in their respective system folders.
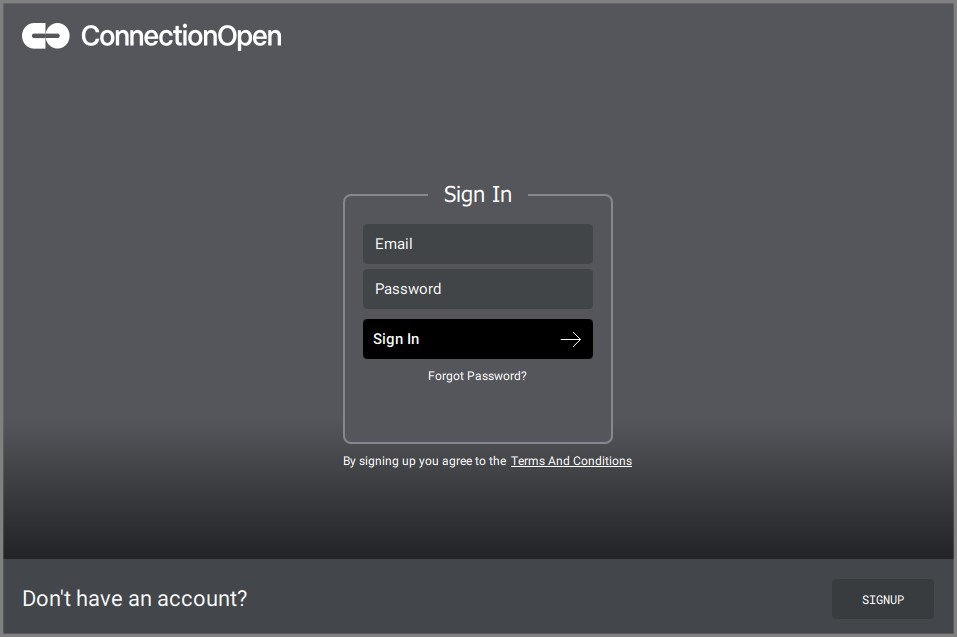
Open client and login
Upon opening the application, you need to login by entering your ConnectionOpen account email address and password, then clicking the sign in button to proceed.
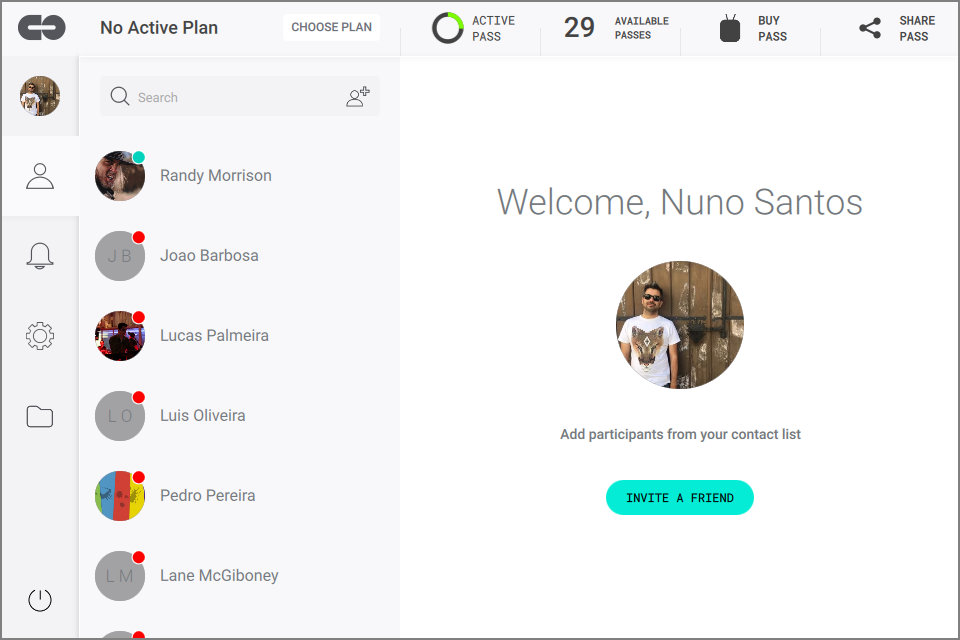
Home Screen
After loging in, you will be presented with the home screen.
Configure audio settings
The audio settings menu, (accessed by the cog icon on the left side navigation bar and then choosing audio settings on the list) allows you to specify which audio devices you want to use for input and output.
ConnectionOpen works by default at 48KHz sample rate and 128 buffer size. This is not a setting because we need to ensure that all peers work under the same conditions towards greatest performance.
You can select which device you want to use for audio input and audio output. For best results ensure that you are using professional grade audio interfaces. Cheap devices tend not work correctly with a tight buffer size of 128 samples.
You can choose which channels are used for both input and output audio. You can select a single channel (mono), or a pair of channels (stereo).
Note: a stereo stream will require twice the bandwith required by a mono stream. Use it only when necessary to avoid unnecessary waste of precious bandwith
There is also a test button for both input and output for you to verify your chosen devices and settings are working correctly. Testing input will display a visual level meter for the input device you have chosen enabling you to monitor incoming audio to that device. Testing the output device plays an audible tone to verify your output/speaker is working correctly.
Note: if the test output is not a perfect sine wave tone it probably means that you audio interface does not handle a buffer size of 128.

Proceed to establishing a connection